To tile a concrete floor, start by thoroughly cleaning and leveling the surface. Next, measure and mark your tile layout carefully to confirm symmetry. Mix and spread thinset mortar evenly, then press tiles firmly in place, using spacers to maintain even gaps. Once set, apply grout diagonally and clean off excess promptly. Finally, seal the grout for long-lasting durability. Following these detailed steps guarantees a professional finish, and there’s more to master for flawless results.
Prepare the Concrete Surface

Before you start laying tiles, you need to confirm the concrete surface is clean, dry, and level. Begin with thorough surface cleaning; remove all dirt, grease, and debris using a stiff broom and a degreasing cleaner. Any residue can compromise tile adhesion, so don’t skip this step. Next, inspect the floor for cracks or holes. For effective crack repair, use a concrete patching compound, applying it with a putty knife to fill gaps completely. Allow it to cure as per the manufacturer’s instructions. Finally, check the surface level with a straightedge or level tool. If you find uneven areas, grind or sand them smooth. Proper preparation confirms your tile installation is durable and free from future issues, giving you the freedom to enjoy a flawless floor.
Measure and Plan Your Tile Layout
You need to take precise measurements of your concrete floor to guarantee your tile layout fits perfectly. Plan your tile pattern carefully, considering alignment and symmetry to avoid awkward cuts and gaps. This preparation step is vital for achieving a professional, visually balanced finish.
Accurate Floor Measurements
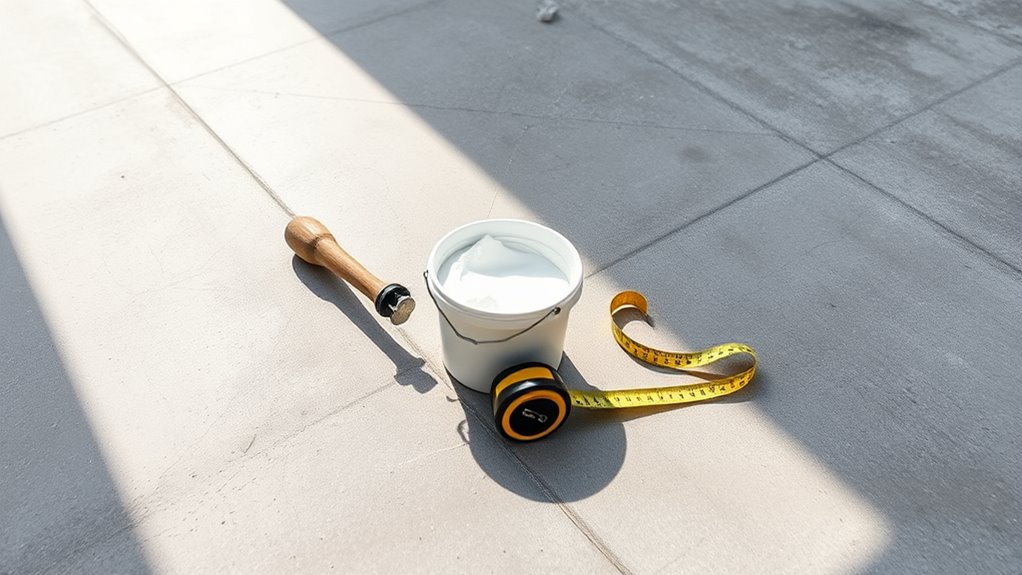
Accurate floor measurements are essential to guarantee your tile layout fits perfectly and minimizes waste. Start by gathering accurate tools like a tape measure, chalk line, and a straightedge. Use measurement techniques such as dividing the floor into smaller sections, measuring both length and width precisely, and noting any irregularities or obstacles. Measure twice to confirm dimensions and mark reference lines on the concrete floor with chalk, ensuring they’re perfectly square. This systematic approach helps you visualize your tile placement clearly and avoids costly mistakes. By mastering these precise steps, you maintain control over your project, preserving your freedom to create a flawless tile floor that fits seamlessly within your space. Accurate measurements form the foundation of a smooth installation process and a professional finish.
Tile Pattern Planning
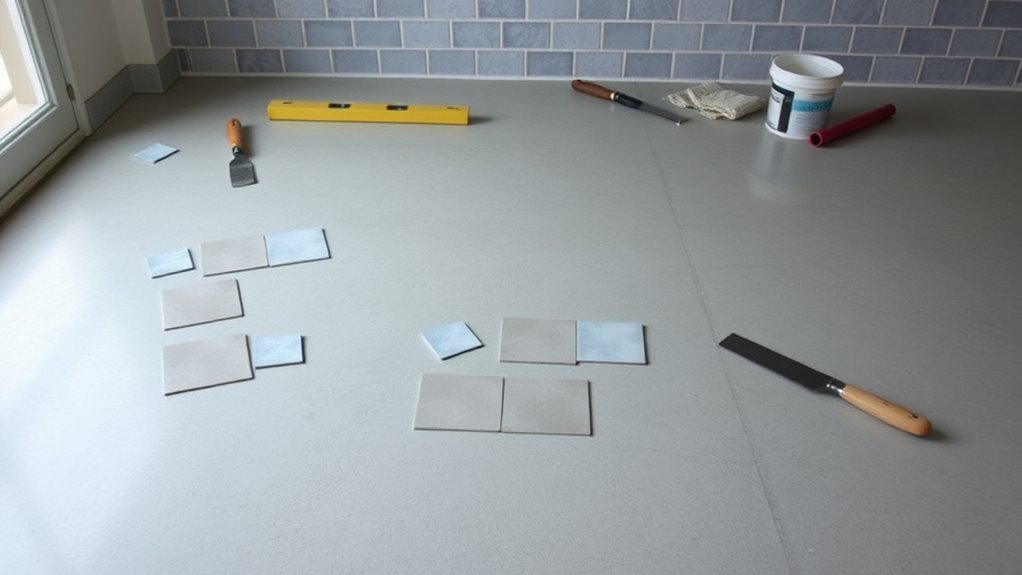
Since a well-planned tile pattern guarantees both aesthetic appeal and efficient material use, it’s vital to carefully measure and map out your layout before installation. Begin by identifying the room’s center and snapping chalk lines to create reference points. This guarantees your tile design maintains layout symmetry, which is essential for a professional finish. Lay out a dry run of tiles along these lines, adjusting to avoid narrow cuts at walls. Consider how your chosen tile design complements the room’s shape and flow—this foresight prevents awkward patterns and waste. Precise measurements and a clear plan give you control, allowing you to confidently proceed with installation while embracing the freedom to customize your space with balanced, visually appealing tiling.
Mix and Apply the Thinset Mortar

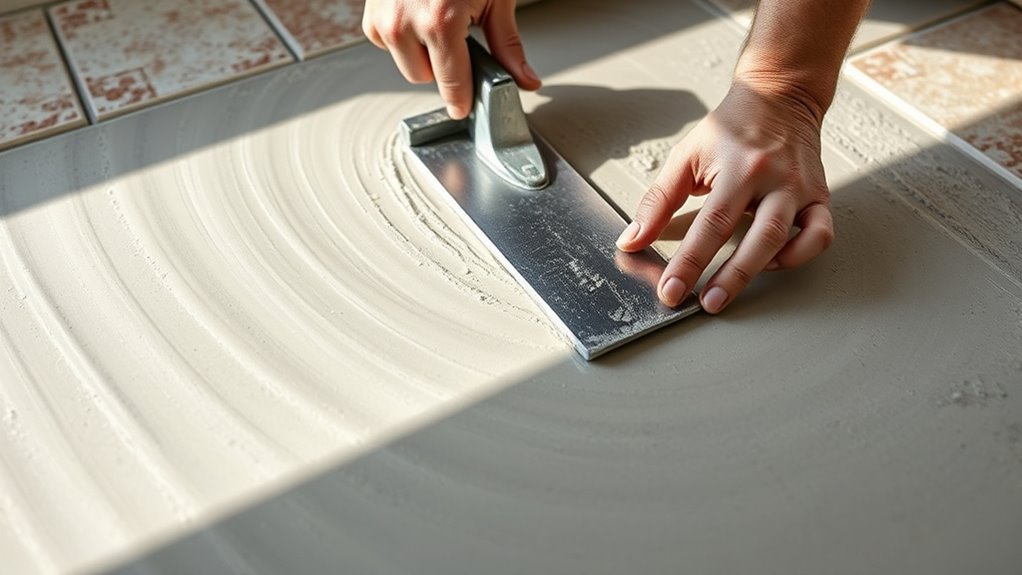
Begin by thoroughly mixing the thinset mortar according to the manufacturer’s instructions, guaranteeing a smooth, lump-free consistency that resembles creamy peanut butter. Achieving the correct mortar consistency is essential for proper thinset application—it must be thick enough to hold the tiles securely but still workable for spreading. Use a margin trowel to mix, then transfer the mortar to your flat trowel. Apply the thinset evenly across a small section of the concrete floor, holding the notched trowel at a 45-degree angle to create uniform ridges. These ridges improve adhesion and prevent air pockets beneath tiles, granting you freedom from future tile movement or cracking. Work in manageable sections; don’t let the mortar skin over before placing tiles. This precise thinset application guarantees a durable, long-lasting tile installation.
Lay the Tiles Carefully
Once the thinset mortar is spread evenly and ridged, you’re ready to start placing the tiles. Begin by pressing each tile firmly into the adhesive, guaranteeing full contact without sliding it excessively. Use tile alignment techniques such as starting from the center or a straight edge to maintain a consistent layout. Apply even pressure to avoid air pockets beneath the tiles, which can cause uneven surfaces. Follow adhesive application tips by working in small sections; this prevents the mortar from drying before the tiles are set. Check each tile’s position frequently, adjusting as needed to keep rows straight and level. Staying precise now guarantees a flawless finish and the freedom to enjoy your tiled floor without worry or rework.
Use Spacers to Maintain Even Gaps

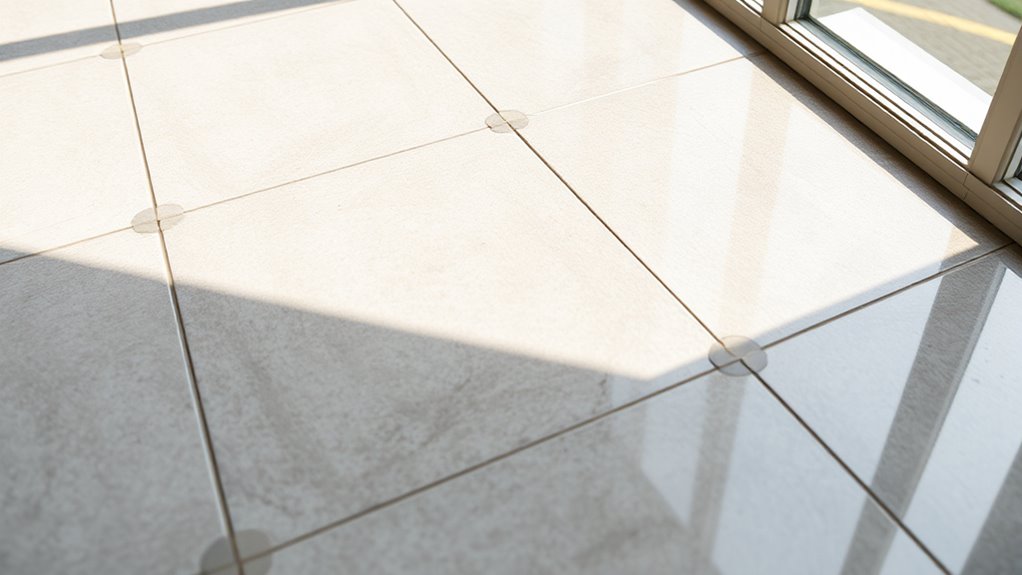
A set of tile spacers is essential for maintaining consistent gaps between tiles, ensuring both aesthetic appeal and structural integrity. When you’re focused on tile installation tips, proper spacer selection is vital to avoid uneven grout lines or tiles that shift during drying. Choose spacers that match your tile size and desired gap width for best results. Insert spacers at tile corners and edges to keep alignment precise. Below is a quick guide on spacer sizes and their typical uses:
| Spacer Size (mm) | Tile Type | Ideal Gap Width (mm) |
|---|---|---|
| 1 | Small mosaic | 1 |
| 2 | Ceramic/Porcelain | 2 |
| 3 | Large format | 3 |
| 5 | Outdoor tiles | 5 |
| 10 | Stone tiles | 10 |
Using spacers properly guarantees uniform spacing and a professional finish.
Apply Grout Between Tiles
With tile spacers keeping your tiles perfectly aligned, you can move on to applying grout between them to seal joints and enhance durability. Choose the right grout type based on your tile and environment—sanded grout suits wider joints, while unsanded is ideal for narrow gaps. Mix the grout to a smooth, peanut butter-like consistency. Using a rubber float, apply grout diagonally across the tiles, pressing firmly to fill joints completely. Remove excess grout by holding the float at a 45-degree angle, scraping off the surface. After about 15-30 minutes, gently wipe tiles with a damp sponge, rinsing frequently, to clean haze without disturbing the grout lines. Proper grout application guarantees a solid, durable floor that stands the test of time while giving you the freedom to enjoy your space.
Seal the Grout for Durability
Although grout provides structural integrity, sealing it is essential to protect against moisture, stains, and wear over time. Grout sealing is a critical step in grout maintenance, ensuring your tiled floor remains durable and visually appealing. To effectively seal your grout, follow these key steps:
- Clean the grout thoroughly to remove dirt and residue.
- Choose a high-quality grout sealer suited for your tile type.
- Apply the sealer evenly with a small brush or applicator.
- Allow the sealer to cure fully as per manufacturer instructions.


