Start by preparing your room and gathering quality polyurethane, brushes, and safety gear. Clean and thoroughly sand your hardwood floors to guarantee smoothness. Remove all dust with a vacuum and tack cloth before applying a thin, even first coat using steady strokes. After drying, lightly sand and clean again before applying additional coats—typically two or three for durability. Finally, allow proper drying and curing time in controlled conditions. Stick with these steps, and you’ll master a flawless, long-lasting finish.
Prepare the Room and Gather Materials
Before applying polyurethane to your hardwood floors, you’ll need to thoroughly prepare the room and gather all necessary materials. Start by evaluating the room layout to guarantee easy access to every corner without obstruction. Remove all furniture and rugs, and cover vents and doorways with plastic sheeting to control dust spread. For material selection, choose a high-quality polyurethane suited for your floor’s finish—oil-based for durability or water-based for quicker drying and less odor. Alongside polyurethane, gather a high-grade synthetic brush or foam applicator, a stir stick, painter’s tape, and a respirator mask for safety. Proper preparation not only protects your belongings but also sets the stage for a flawless finish, giving you the freedom to work efficiently and confidently on your hardwood floors.
Clean and Sand the Hardwood Floors
With your room prepped and materials at hand, the next step is to clean and sand your hardwood floors to guarantee the polyurethane adheres properly. Proper cleaning techniques remove oils and residues, while effective sanding creates the ideal surface texture. Follow these steps:
Cleaning and sanding hardwood floors ensures optimal polyurethane adhesion and a smooth, durable finish.
- Sweep and vacuum thoroughly to eliminate loose dirt and grit.
- Use a damp mop with a mild cleaner designed for hardwood to remove stubborn grime.
- Sand the floor starting with a coarse grit to remove old finishes, then progress to finer grits for smoothness.
- Apply sanding tips such as moving the sander evenly and following the wood grain to avoid scratches.
Mastering these steps sets you up for a flawless polyurethane finish that lasts.
Remove Dust and Debris Thoroughly
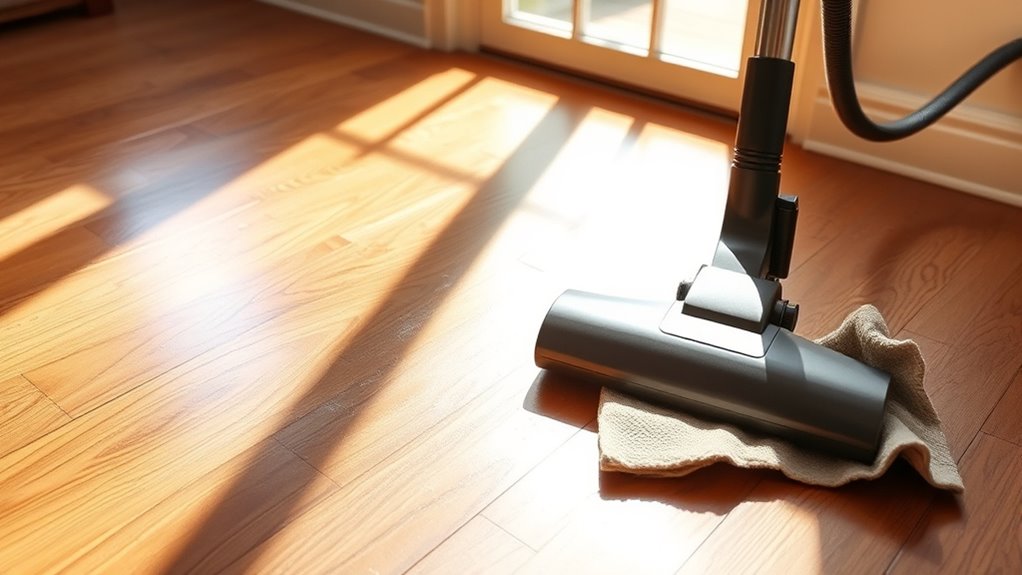
Before you start sanding, make certain to sweep the floor to remove loose dust and debris. After sanding, use a vacuum with a brush attachment to clean up finer particles. Finish by wiping the surface with a tack cloth to guarantee it’s completely dust-free for a smooth polyurethane application.
Sweep Before Sanding
A thorough sweep of your polyurethane hardwood floor is essential to remove dust and debris that can interfere with the sanding process. Proper floor preparation guarantees your sanding techniques work effectively, resulting in a smooth, flawless finish. Before you start sanding, follow these steps:
- Use a soft-bristle broom to gently sweep across the floor, avoiding scratches.
- Pay special attention to corners and edges where dust tends to accumulate.
- Sweep in multiple directions to lift all particles from the surface.
- Dispose of the collected debris immediately to prevent recontamination.
Use a Vacuum
After sweeping, it’s important to use a vacuum to remove any remaining dust and debris that a broom can’t reach. Choosing the right vacuum type is critical—opt for one with strong suction and a HEPA filter to trap fine particles effectively. A shop vac or a canister vacuum with a soft-brush attachment works best for hardwood floors, ensuring you don’t scratch the surface. Use systematic cleaning techniques: vacuum in overlapping strokes along the grain of the wood, paying close attention to corners and edges where dust accumulates. This thorough approach guarantees a pristine surface, essential for a smooth polyurethane finish. Taking the time now to eliminate all dust will free you from imperfections later, letting your hardwood floors shine with professional polish and durability.
Tack Cloth Final Wipe
Tack cloths are essential tools for capturing the fine dust and debris that vacuums often miss. Their tack cloth benefits include picking up particles without leaving residue, ensuring a pristine surface for your polyurethane finish. For the best final wipe techniques, follow these steps:
- Lightly unfold the tack cloth to expose the sticky surface.
- Gently wipe the floor in a consistent pattern, avoiding excessive pressure that could leave fibers.
- Change cloth sections frequently to prevent spreading dust around.
- Inspect the floor under bright light to confirm it’s dust-free before applying polyurethane.
Mastering this final step guarantees your hardwood floor remains spotless, allowing the finish to adhere perfectly and giving you the freedom to enjoy a flawless, professional-looking result.
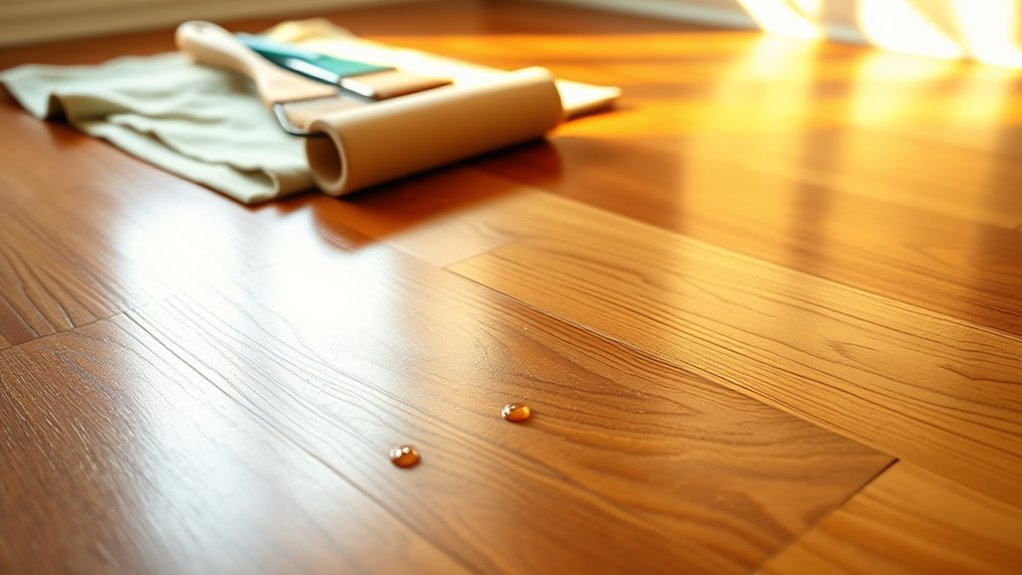
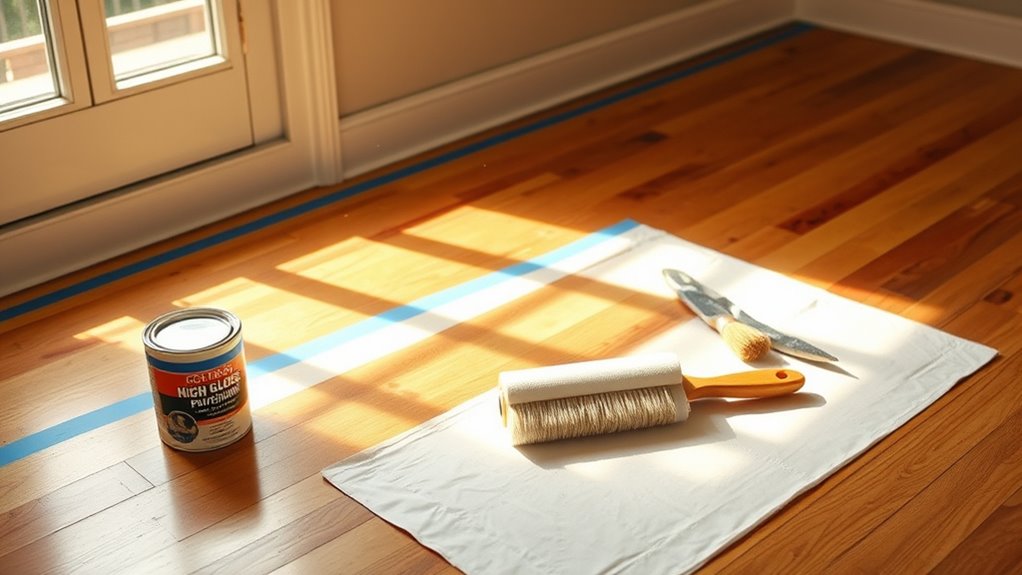
Apply the First Coat of Polyurethane
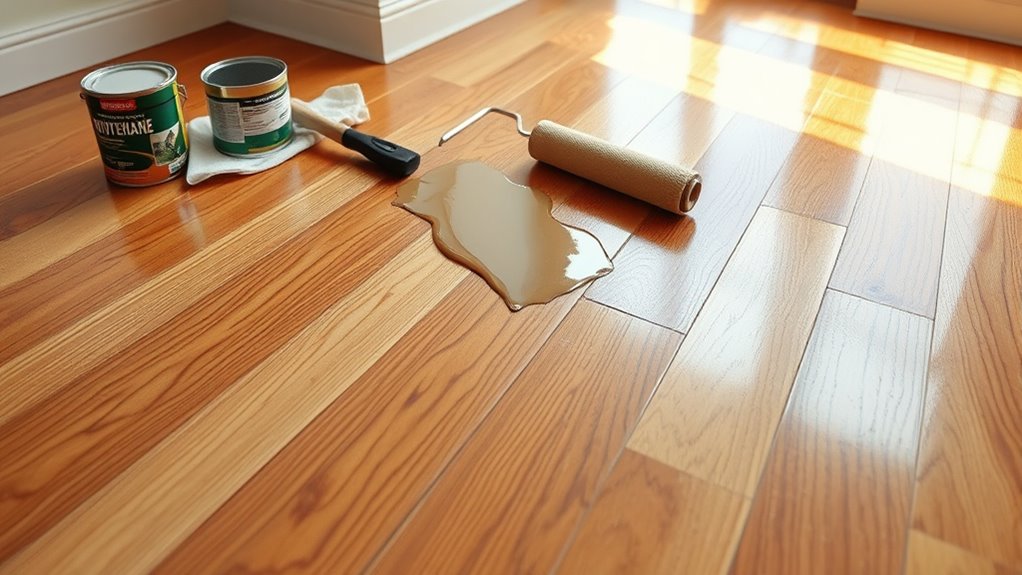
Before you start applying the first coat of polyurethane, confirm the floor is completely clean and dry to achieve a smooth finish. Choose a high-quality brush or foam applicator to guarantee even application. Use steady, long strokes following the wood grain, avoiding over-brushing which can cause bubbles. Focus on maintaining consistent coat thickness—too thick, and it may drip or dry unevenly; too thin, and coverage will be inadequate. Work in manageable sections to keep a wet edge, preventing lap marks. Remember, patience is key: apply a thin, uniform layer to allow proper curing and durability. By mastering these application techniques, you’ll set a solid foundation for a lasting, flawless hardwood floor finish that lets your freedom to enjoy your space shine through.
Sand Between Coats for a Smooth Finish
Although the first coat of polyurethane provides a solid base, sanding between coats is essential to achieve a smooth, professional finish. Proper sanding techniques help remove dust nibs and uneven spots, ensuring the next layer adheres flawlessly. Here’s how to handle this vital step:
- Use fine-grit sandpaper (220-320 grit) to lightly sand the dried coat.
- Sand gently with a sanding block or pole sander, following the wood grain.
- Remove all dust with a vacuum and tack cloth to prepare for the next coat.
- Inspect the surface for smoothness, making necessary finishing touches before applying more polyurethane.
Mastering sanding between coats gives you control over the finish’s quality, revealing the freedom to create a flawless floor.
Apply Additional Coats as Needed
Applying additional coats of polyurethane is essential to assure durability and enhance the floor’s appearance. After sanding between coats, you’ll want to apply at least two to three more layers, depending on the floor’s traffic and desired finish. Use smooth, even strokes with a high-quality brush or foam applicator, following the grain of the wood to avoid bubbles or streaks. Maintain consistent pressure and avoid over-brushing, which can cause imperfections. Each additional coat builds depth and protection, so don’t rush this step. Pay attention to the type of polyurethane—oil-based may require fewer coats than water-based. By mastering these application techniques, you guarantee a resilient, professional-looking floor that stands up to wear while preserving the natural beauty of your hardwood.
Allow Proper Drying and Curing Time
You’ll need to follow specific drying time guidelines between coats to guarantee proper adhesion. Keep the room well-ventilated with stable temperature and humidity for ideal curing conditions. Avoid walking on the floor too soon to prevent damage and allow the polyurethane to fully harden.
Drying Time Guidelines
Proper drying and curing times are essential to guarantee your polyurethane hardwood floors achieve maximum durability and a flawless finish. Understanding drying factors and humidity effects helps you set realistic expectations and avoid premature wear. To ascertain ideal results:
- Allow at least 4–6 hours of drying time between coats, depending on temperature and ventilation.
- Keep humidity levels below 50% to speed up drying and prevent tackiness.
- Avoid heavy foot traffic for 24–48 hours after the final coat to maintain surface integrity.
- Wait 7 days before placing furniture to ascertain full curing and hardness.
Following these guidelines grants your floors the freedom to harden properly, resulting in a lasting, beautiful surface you’ll be proud of.
Ideal Curing Conditions
Three key factors influence the ideal curing conditions for polyurethane hardwood floors: temperature, humidity, and ventilation. To achieve a durable finish, maintain temperature control between 65°F and 75°F. Fluctuations can extend curing time or cause defects. Ideal humidity should stay between 40% and 60%, preventing the finish from drying too quickly or too slowly. Proper ventilation is essential to disperse fumes and provide fresh air, but avoid strong drafts that can lead to uneven curing. By managing these conditions, you allow the polyurethane to harden fully and evenly, ensuring a resilient and beautiful floor. Remember, patience here grants you the freedom to enjoy a flawless surface that stands the test of time.
Avoiding Premature Traffic
Although it might be tempting to walk on your polyurethane hardwood floor soon after application, allowing sufficient drying and curing time is crucial to prevent damage. Proper traffic management guarantees your floor’s durability and maintains its finish quality. To protect your investment, follow these guidelines:
- Wait at least 24-48 hours before light foot traffic to allow the polyurethane to set.
- Avoid placing furniture or rugs for a minimum of 72 hours to prevent indentations or smudges.
- Maintain low humidity and moderate temperature during curing to facilitate proper floor protection.
- Use temporary barriers or signs to restrict access and remind others to avoid premature traffic.